Add a live chat to your Ghost Website in 3 steps


Adding a live chat to your Ghost website can be done in 3 simple steps:
But adding a live chat to your Ghost website can be done in 3 simple steps:
- Create a new team on Moment
- Create a Free Moment Account and Verify Your Email
- Copy and Paste the Code Snippet in the <head> Tag of Your Website
So let’s quickly show you how!
Adding a live chat to your Ghost website
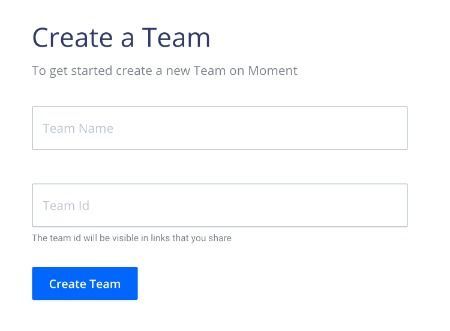
1. Create a New Team on Moment
First off, you will need to create an account with your live chat platform of choice.
In Moment, creating an account is free and does not require a credit card or method of payment.
To start you'll need to create a new team on Moment, we recommend using your company's name.
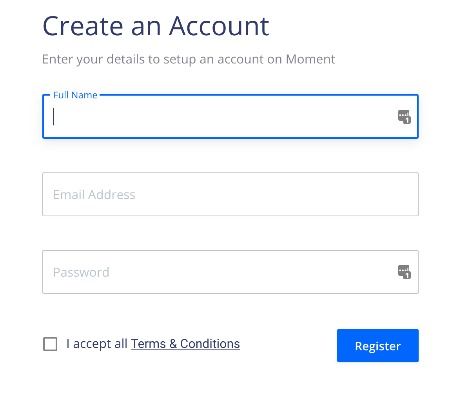
2. Create a Free Moment Account and Verify Your Email
You'll be taken to this page where you will need to create an account and confirm your email address.
3. Copy and Paste the Code Snippet in the <head> Tag of Your Website
After setting up your team, you'll be taken to this page
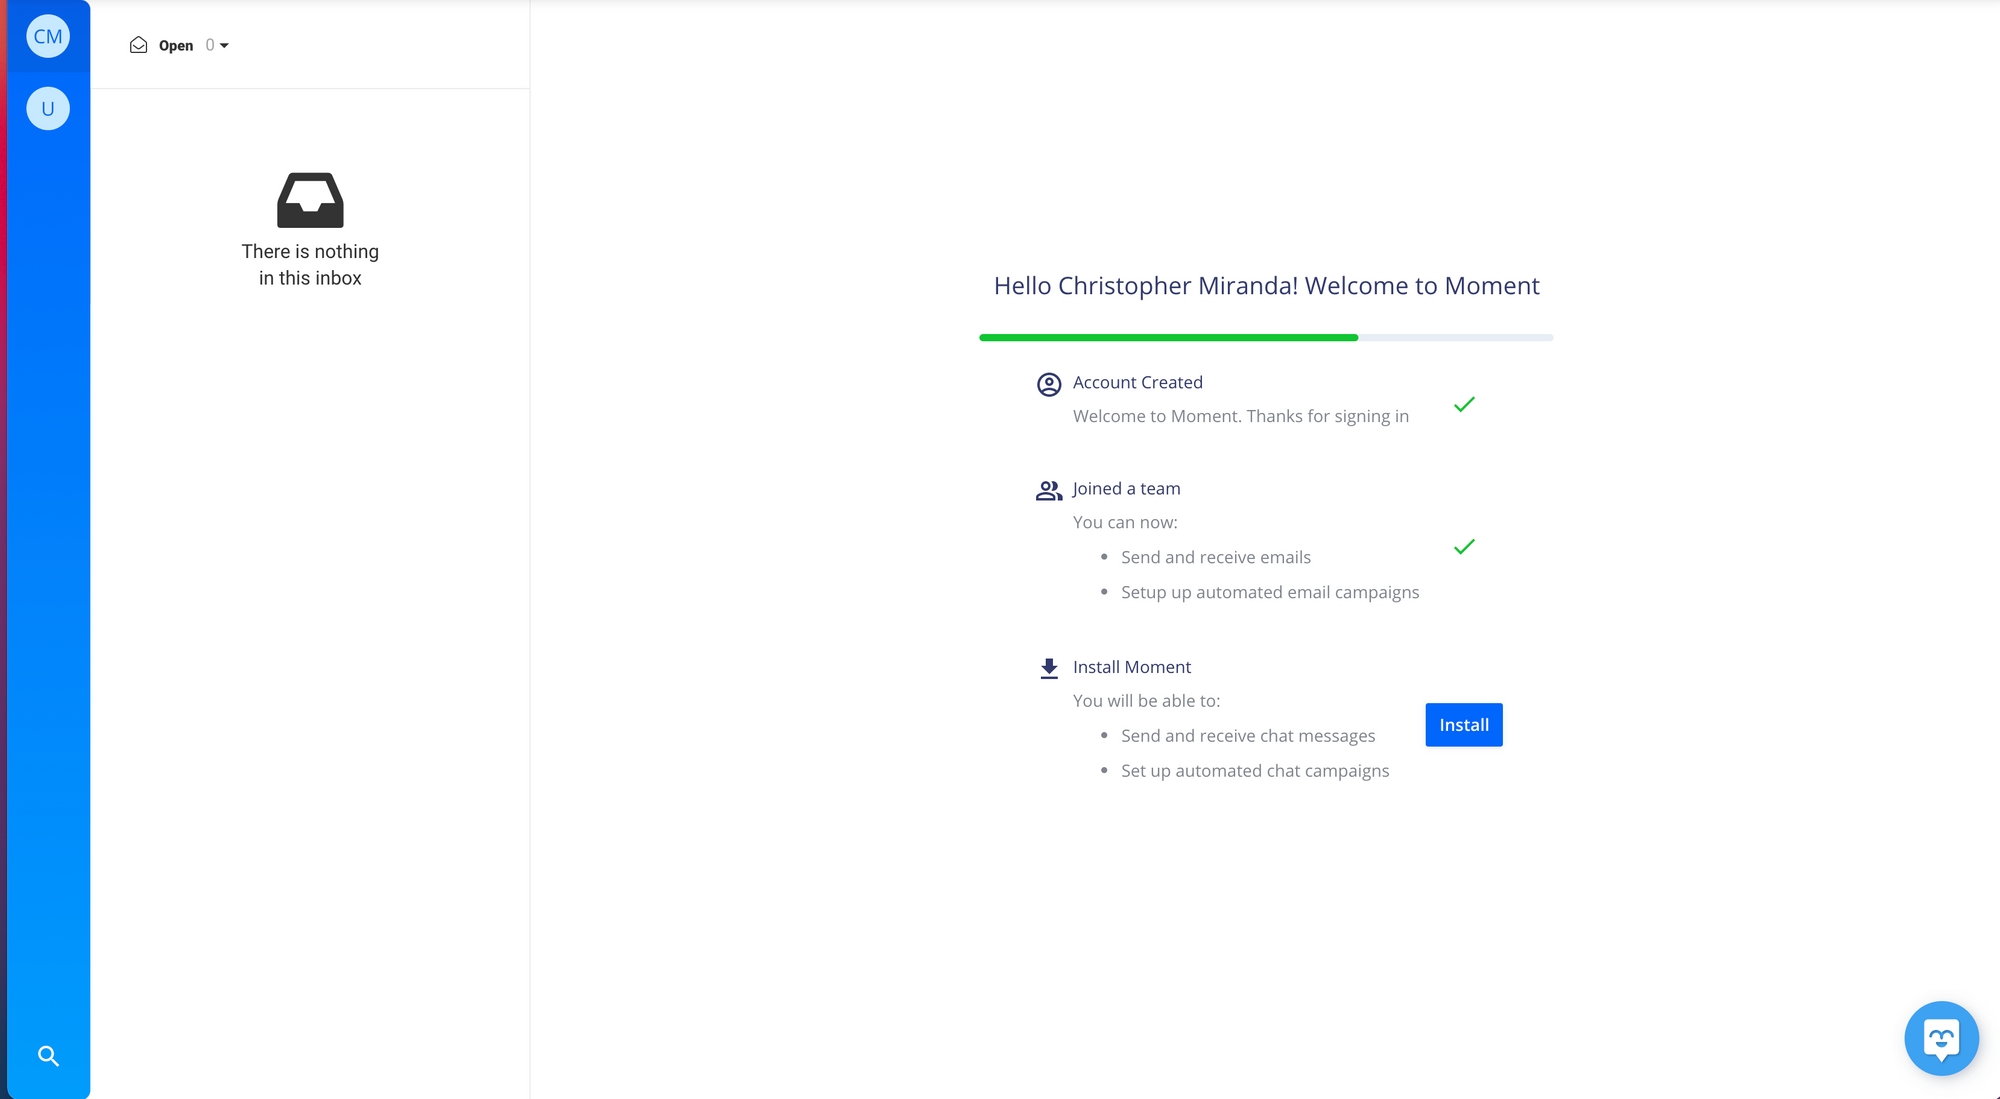
Click on the blue install button, Moment will provide you with a code snippet to install on your site. If you do not know how to do this, you can forward it to your webmaster. Simply copy and paste this code into your <head> tag
You will also be given the option to enable Moment Tracking (session recording). This feature records the sessions of your users on your site, allowing you to see the issues they have experienced while assisting them. This feature is fully optional.
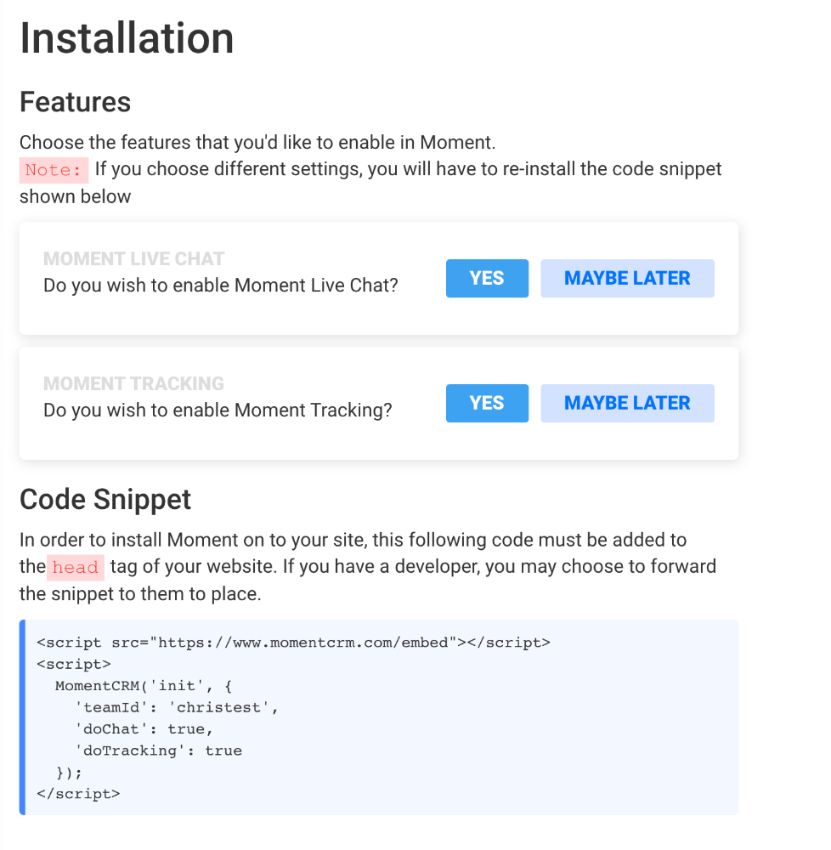
Once the snippet is installed on the site, your chat pop-up window will appear at the bottom of every page.
Adding the code snippet to your Ghost website.
The next following steps are custom for Ghost websites. If you have a different website builder, you can check out our other guides to set up a live chat.
Once you’re logged into your Ghost dashboard, click on the website you want to add the live chat to.
- Under settings click on code injection
- Copy and paste your custom code into under “site Header"
- Click Save
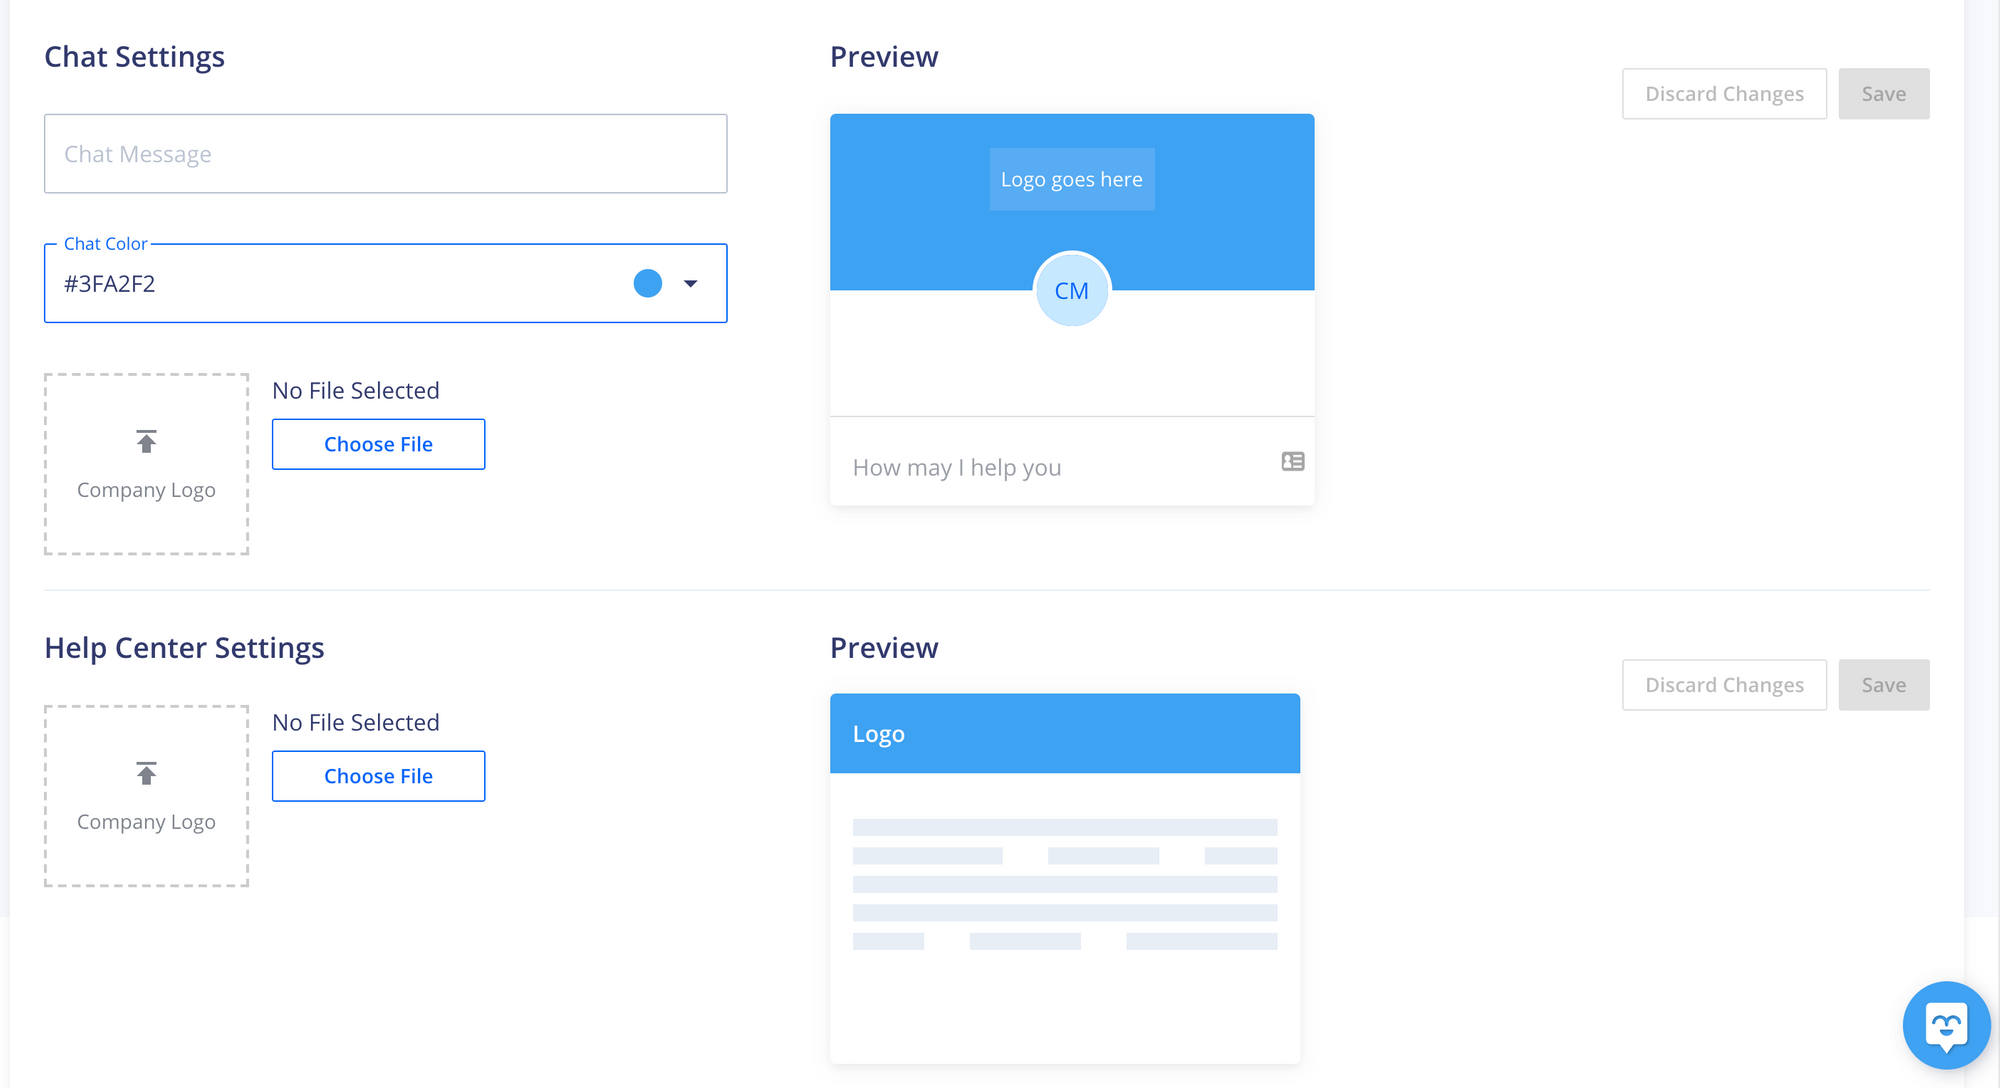
Customizing Your Live Chat
Now that you have your live chat installed on your website, You can customize it!
In the drop-down menu on the left top corner, Under General, click on Team Settings
You'll be taken to the General Settings Tab. On this page, you'll be able to change your team name, chat message, colour and insert your company logo!
Adding Team Members To Your Live Chat
If you have other people in your company helping with customer support, now it’s time to add them as team members.
In the Moment dashboard, click on the menu in the top-left of the screen and under General click on Team Settings, then on "Members"
Then click on "Add Member" on the top left corner

Here you will be able to set up their account. Team members will then receive an email invite to join the team and start providing support.
Add a Live Chat Today!
That completes the live chat set up on your website! Wasn’t that easy?
Now that you are ready to begin providing live chat support on your website, why not read our guide on how to do it efficiently?
Read more: How to Use Live Chat for Customer Support?
Happy Chatting 💬
View our other guides for different for different website builder: